
If the first store-bought kombucha got you hooked with its fizzy charm, It’s only natural that you’re now curious about how to make kombucha at home. Aside from being an affordable option, homebrewing is also fun and allows you to explore a new niche.
There are risks in brewing your kombucha at home, so having a guide can save you from getting sick from a contaminated kombucha and from exploding bottles. Sounds dangerous? Well, brewing kombucha is simple and safe as long as you follow the right steps and stick to the non-negotiable rules.
In this post, we will share how to make kombucha from making your SCOBY up to the fun part – second fermentation! Now, keep a dose of patience handy and wear your glasses, because the process may sound like a science project with a delectable fizzy drink reward at the end.
How to make kombucha from scratch to finish
Kombucha fermentation is a process where you’ll be handling bacteria. We all know that there are good and bad bacteria and it is the main reason why you should keep a sterile environment throughout the fermentation. Once the bad guys made it through your booch, it can be really dangerous for you and your family.
If you already have a SCOBY or a starter tea, the whole kombucha fermentation process will only have two stages: first and second fermentation. However, if you don’t have a SCOBY, you can also make one. It will serve as the mother of your future brews. Now let’s have a quick rundown of the tools that you need as a newly initiated kombucha brewer:
Fermentation tools and ingredients
Due to the increasing number of people homebrewing kombucha, the fermentation tools and materials are now available online and in local stores. You don’t have to purchase fancy fermentation materials. All that matters is they are sterile and functional. As a new kombucha homebrewer, here are the things that you need to prepare.
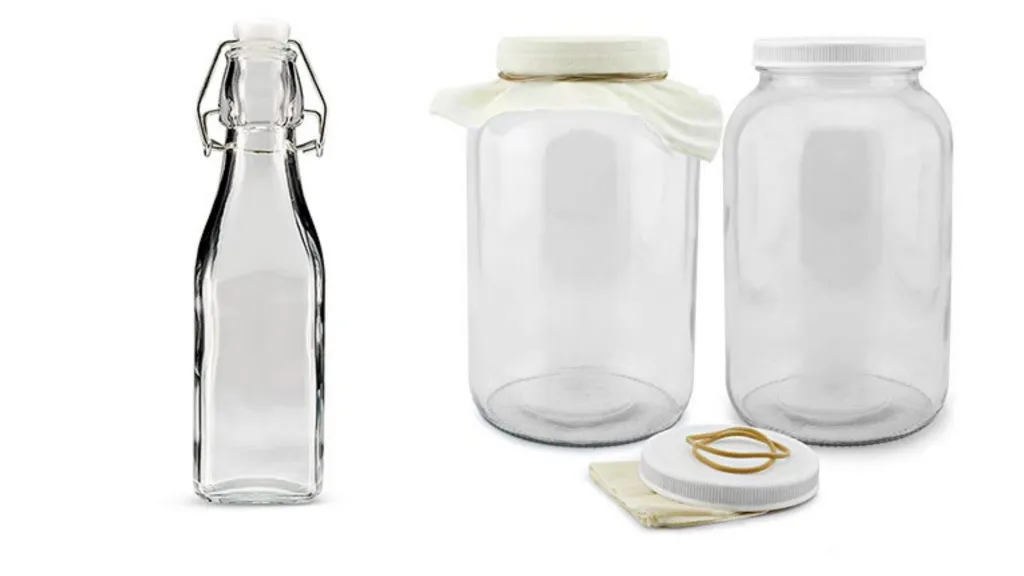
Glass jar and swing-top bottles
The first material that you should prepare is the glass fermentation container where you will start brewing. Glass jars should be used during kombucha fermentation since it has a smooth surface and does not cause a reaction to the acids in kombucha.
Since you will be brewing kombucha by batch, the glass jars that you should choose should be able to handle 1 to 5 gallons of kombucha. Some brewers opt for a jar with a faucet to make it easier to transfer kombucha in smaller bottles during the second fermentation. (We will discuss this later in this post.)
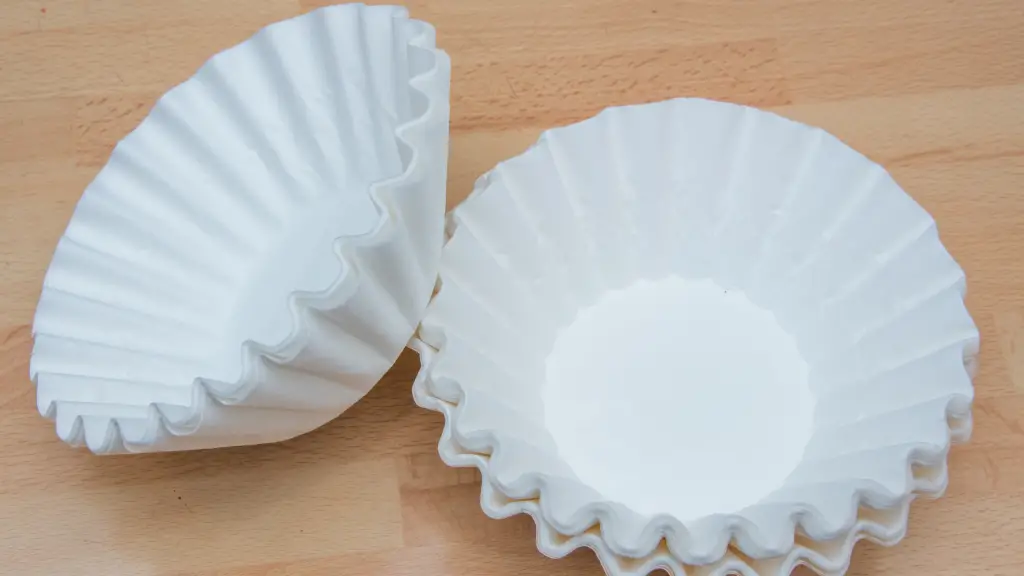
Cheesecloth or coffee filter
During the fermentation process, you need to cover the fermentation jar with a tightly woven cloth or filter to keep debris, insects, and other contaminants at bay. You cannot cover the jar with a lid because, during the fermentation process, SCOBY will release carbon dioxide as it converts sugar into ethanol and acid.
Your kombucha should be able to breathe through the cover for optimal results. Usually, brewers opt for a cheesecloth but coffee filters or paper towels can suffice as well.
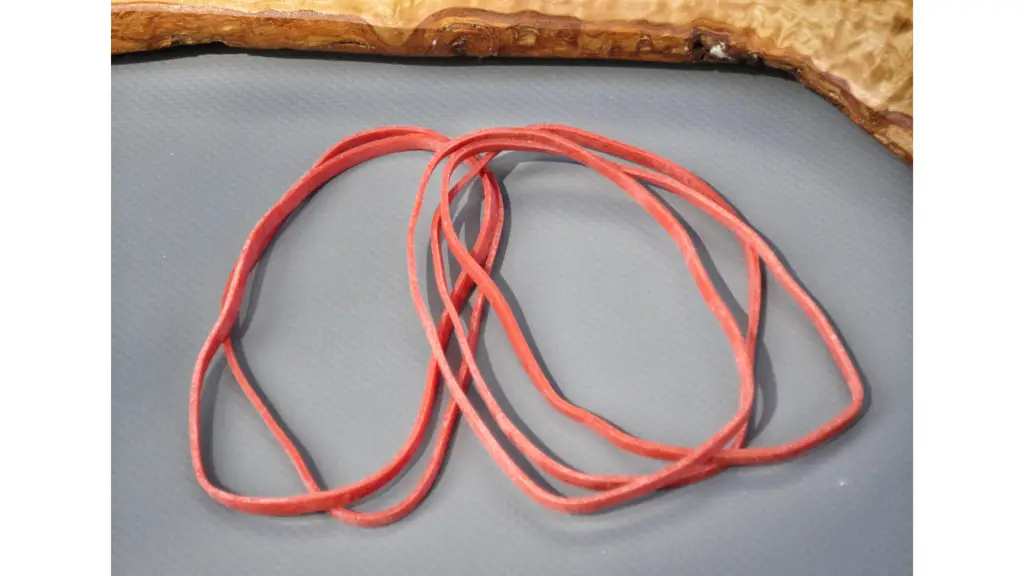
Rubber bands
Rubber bands will hold the cheesecloth over the jar opening. It is better than a rope because it ensures that there is no gap where contaminants can sneak in. When you buy a kombucha fermentation jar online, it usually comes with a rubber band that fits the opening of the jar.
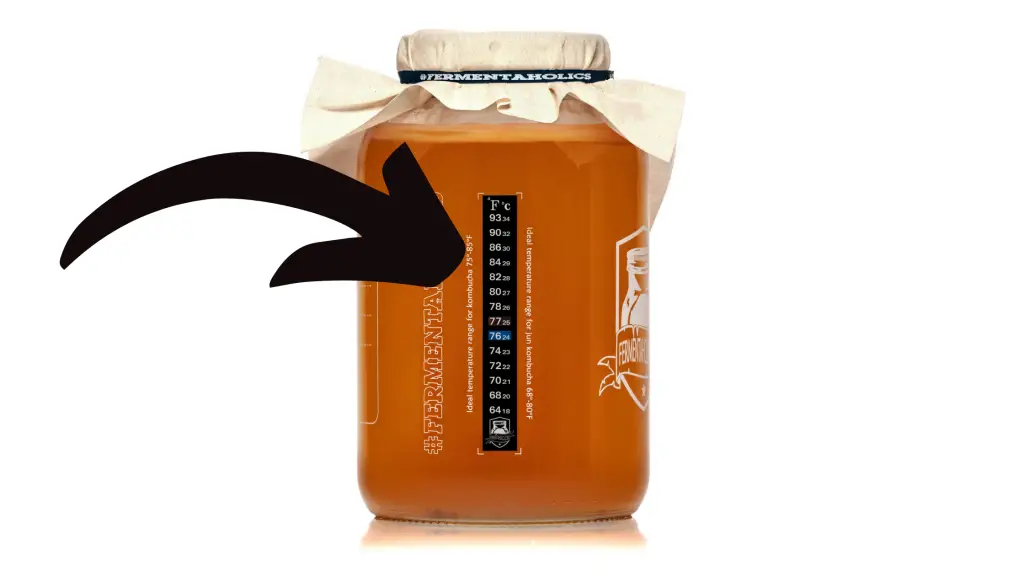
Thermometer strip
Kombucha is temperature-sensitive. To ensure that you’re on track with your fermentation schedule and monitor the flavor of your kombucha, it’s best to invest in thermometer strips. The beauty of using thermometer strips is you no longer need to open the kombucha jar to check its temperature, unlike using a liquid thermometer. You simply stick it on the jar and check where the line falls.

Sugar
Sugar is one of the key components of your brew. Don’t be shocked by the amount of sugar that you have to put in your brew. The sugar will be the food of SCOBY that will trigger them to produce alcohol and acid in the final brew. White sugar is the standard option for kombucha brewing, but if you want to add more nutrients to your brew, you may opt for organic sugar cane crystals. Learn more about the best sugar for kombucha here.
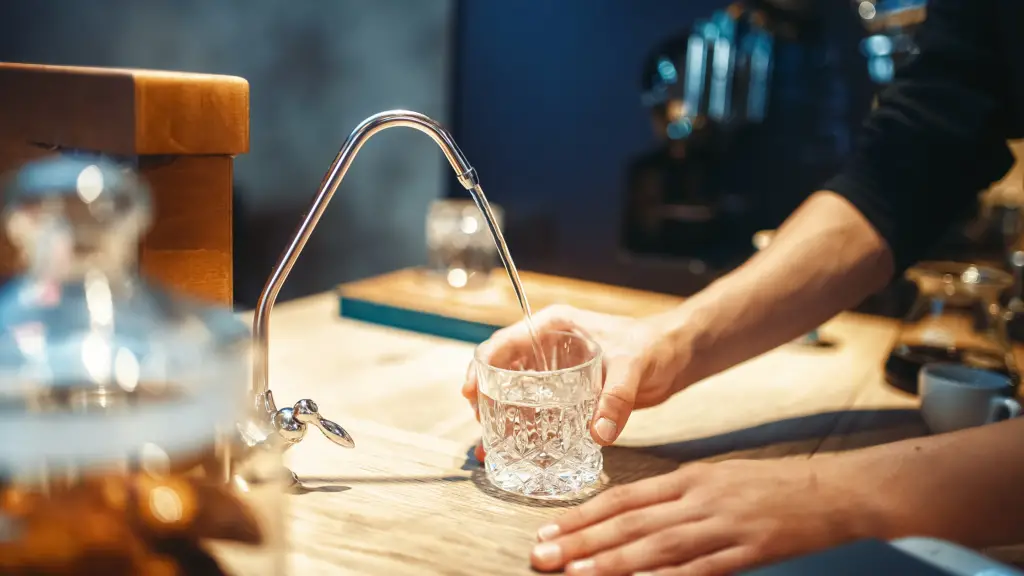
Water
The water that you add to kombucha is usually mixed with tea. Some brewers say that tap water is safe to use. However, the quality of tap water varies depending on where you live. Some cities have hard water while some contain too much chlorine. To be on the safe side, it’s best to use filtered water.
Starter tea
Starter tea is one of the many kombucha jargons that you should get used to. It is simply an unflavored and unpasteurized kombucha. It may look like a simple liquid but it holds all the good bacteria and yeast that you need for your brew. After your first fermentation, you can keep a few cups so you can use them as a starter for your next batch of brew.
You can add both SCOBY and starter tea to the brew. In the lack of SCOBY, you can use any unflavored store-bought kombucha.
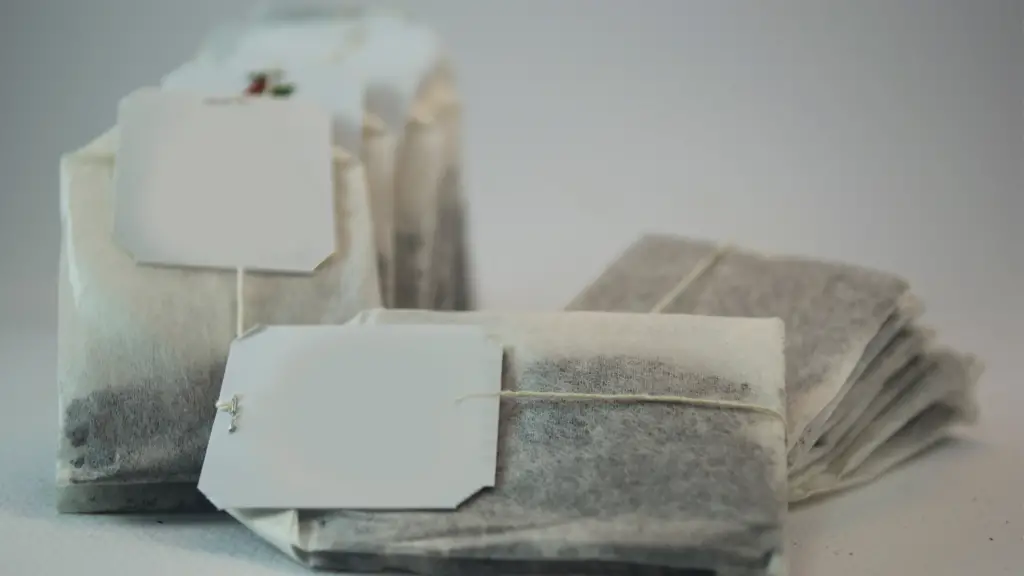
Tea
Tea is the pillar ingredient of kombucha. It contains all the goodness in kombucha where its potential benefits are derived. The type of teas that you can use in kombucha are as follows:
Citrus teas and herbal teas might contain substances that are harmful to your SCOBY. So, it’s best not to use them.
Sweeteners and flavorings
The second fermentation is the fun part of the fermentation process. You can add almost anything from fruits, berries, herbs, and spices to your brew. You can also add some sugar or honey if you want it sweeter than usual.

Kombucha heating pad and labels(optional)
If you live in a cold region, you may need to invest in a kombucha heating pad. Fluctuations in temperature can cause your brew to ferment faster or slower. Your brew can get sour when it’s too hot and it can develop molds when it’s too cold.
A kombucha heating pad can help maintain the temperature at 75 F and ensure an optimal fermentation duration of 10 to 14 days. You should also place the date of preparation on the jar so that you can keep track of the fermentation duration.
The only costs that will be a bit heavy on your budget are when you invest in your fermentation tools. Once you get started, the cost of brewing becomes minimal, allowing you to spend around $2 per glass of kombucha.
Now, gear up, and let’s start making your SCOBY!
I. Making the SCOBY (1 week to a month)
Making a SCOBY is not a necessary step, you can brew a kombucha by solely using a starter tea. However, it pays to know how to build your SCOBY from scratch. It’s no different than brewing kombucha, but it comes with some conditions.
Non-negotiable rules in making a SCOBY
Since you’re making the SCOBY, you should ensure that you have a healthy and strong group of bacteria and yeast to produce better-tasting kombucha. A weak and unhealthy SCOBY produces an even worse-tasting brew.
Before you begin making the Mother SCOBY, here are some rules that you should take to heart:
- You should only use black tea to give everything that your SCOBY needs.
- The jar should not be exposed to direct sunlight because it can kill good bacteria.
- You should not use honey because it might contain botulism bacteria that will compete with the good bacteria and yeast in your brew, leading to a dangerous brew or SCOBY.
Ingredients and materials:
Here are the materials and ingredients that you’ll need:
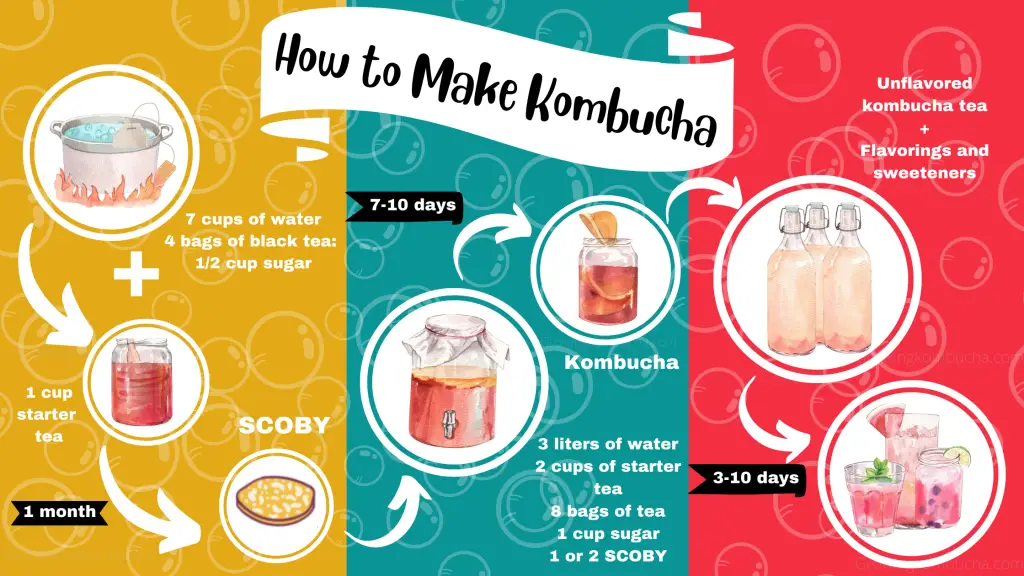
- 7 cups of water.
- 1 cup starter tea.
- 4 bags of black tea.
- 64g sugar.
- Pot.
- Fermentation jar.
- Cheesecloth.
- Rubberbands.
Step #1: Boil water and steep the tea
The first step is to boil the filtered water in a pot. Then, remove it from the heat to keep it off the boiling point and start steeping the tea. Do not boil the tea. Otherwise, it will lose its nutrients.
Step #2: Dissolve the sugar
Filter the tea leaves or remove the tea bags from the pot and dissolve the sugar. Mix it well so that all the granules are well-mixed with the tea.
Step #3: Transfer to fermentation jar
While the sweet tea is cooling down, make sure to clean your brewing jar well. Aside from washing it with water and dish soap, you may also sterilize it using hot water or vinegar. Once the tea is at room temperature, transfer it to the brewing jar.
Step #4: Add starter tea
Once the tea has been set, you may now add the starter tea. The bacteria and yeast from the starter tea can now start feeding on the sugar and adjust to their new home.
Step #5: Cover and store in a dark place
Cover the jar with a clean cheesecloth. Some brewers prefer paper towels or coffee filters because they think cheesecloth is too porous, which makes a perfect home for contaminants. However, any of them is fine. Seal the cover using a rubber band.
Place your kombucha in a clean, dry, and dark place where there are no cold drafts, heat from appliances, or direct sunlight.
Step #6: Ferment for a month and keep the SCOBY alive
Now, the waiting game starts. Wait for the SCOBY to form by allowing the brew to ferment for four weeks. You will notice a film of a white substance (around ¼ inch) on top of the brew. It may look thin but once you place it in a new brew, it will get thicker up to an inch.
You can keep your SCOBY in the brew until you need to use it for another batch of booch. The brew of the SCOBY is not safe to drink. It is only intended for keeping the SCOBY alive. The drinkable brew is the result of the first fermentation.
II. First Fermentation (7 to 10 days)
Now that you have the mother SCOBY, you can now start the real kombucha fermentation process. The first fermentation is the most crucial step in making kombucha. The process may look simple but it is the stage when contaminants may try to get into the brew and make you toss the whole batch.
Non-negotiable rules in the first fermentation
Here are some of the things that you need to consider when brewing your booch for the first fermentation:
- Unlike making a SCOBY, you can use any tea for the first fermentation between green, white, black, or oolong tea.
- For optimal results, you should ferment your kombucha between 70 F to 75 F.
- The fermentation duration is only 7 to 10 days.
Ingredients and materials:
Here are the materials and ingredients that you’ll need:
- 3 liters of filtered water.
- 256g of starter tea.
- 8 bags of tea.
- 128g sugar.
- 1 or 2 SCOBY.
- Pot.
- Fermentation jar.
- Cheesecloth.
- Rubberbands.
Step #1: Boil water and steep the tea
Bring the water to a boil for the tea. You should not add the tea when the water is boiling. Remove the pot from the heat to cool down and start steeping the tea. Let it steep for a few minutes until the water builds deep color.
Step #2: Dissolve the sugar
Filter the loose tea leaves or remove the tea bags from the pot. Then, pour in the sugar and dissolve it. Make sure that all the granules are mixed into the tea, so it can be readily available for the SCOBY.
Step #4: Transfer to fermentation jar
Once the sweet tea is at room temperature, transfer it to the jar. Ensure that the jar is squeaky clean by sterilizing it with hot water or vinegar. Otherwise, your brew will become contaminated and end up being tossed in the drain.
Step #5: Add the SCOBY and starter tea
Pour in the stars of the kombucha fermentation: SCOBY and starter tea. You can either have the starter tea alone, but for best results, you can also add them both.
Step #6: Cover and store in a dark place
Cover the jar with cheesecloth or paper towel and seal it with a rubber band. Make sure that there is no exposed opening to keep the contaminants, and insects at bay. Since contaminants are microscopic, we can only ensure that we sealed the cover properly and trust that they won’t pass through the cover.
Store your kombucha in a place where there is a stable temperature and away from breeding grounds of bad bacteria like the trash can, sink, or cleaning tools rack. Some people place it in their closet or on top of a breakfast table where there is no mold and risk of contamination.
Step #7: Ferment for 7 to 10 days
Kombucha is a product produced during mid-fermentation. It is the stage before the brew becomes vinegar. So, you only have to ferment for a shorter time. You can occasionally taste it after 7 days to find the best flavor that works for your palette.
Step #8: Save some starter tea
After you got the best flavor out of your brew, you can now proceed with the second fermentation. Before you start transferring your brew to smaller bottles, you can keep a few cups of the unflavored brew to serve as your starter culture for a new brew.
You may also set aside the SCOBYs in a SCOBY hotel so you can send them to friends or use them for new batches of kombucha. int he future

Second fermentation (3 to 10 days)
When your brew makes it to the second fermentation, you should be proud of yourself. A lot of brewers are tossing their brews because of contamination and mold formation. So, that means you have a sterile environment, got the right temperature, and sealed your brew properly. Good job homebrewer!
The goal of the second fermentation is to add flavor and carbonate your kombucha. The concern is no longer about the risks of contamination, but about preventing the bottles from exploding and the flavor from becoming too strong to drink.
Non-negotiable rules in the first fermentation
Here are the essential rules during the second fermentation that can help maintain the flavor of your booch and keep the bottles from exploding:
- Prevent the bottles from exploding by using a sample brew in a plastic container as a gauge for the pressure in the bottles. When the container becomes too hard, then you have to release the excess carbonation in the bottles. Otherwise, they will explode.
- If the kombucha bottles are placed at room temperature they will continue to ferment, carbonate, and turn into vinegar. However, if you place them in the fridge, the fermentation will stop and they will retain their flavor.
- To bring back the carbonation or fizz in your kombucha, leave it at room temperature for two days and it will restore the fizzy goodness of your drink.
Ingredients and materials:
- Unflavored kombucha tea.
- Swing top bottles.
- Flavorings and sweeteners.
Step #1: Transfer the brew to swing-top bottles
Before transferring the brew, sterilize the swing-top bottles with hot water or vinegar. Transfer the brew to small bottles and leave extra space for fruits and other flavorings that you wish to add to each bottle. Some people also add honey or added sugar at this stage to enhance the flavor of their brew.
Step #2: Add fruits, herbs, and spices
Now for the fun part, you may start to mix and match herbs and fruits to create unique flavors. With kombucha, you can have the weirdest combinations of ingredients but still, end up with a surprisingly delectable taste. One example is the coconut, kiwi, and lime or cayenne flavor.
Step #3: Carbonate for 3 to 10 days
Let the bottles ferment and allow the flavor to kick in at room temperature for several days. Observe how the carbonation builds up and use a sample in a plastic container to monitor the pressure in the bottles.
Step #4: Burp the bottles and store them in the fridge
Sometimes, too much pressure on the bottles will cause the bottles to explode. If you think that the kombucha attained your ideal carbonation, you can release the excess pressure from the bottles before you store them in the fridge.
Frequently Asked Questions (FAQs)
Is it cheaper to make or buy kombucha?
It is much cheaper to brew kombucha at home long-term than store-bought kombucha. Every brew will only cost around $1 to $2 per bottle compared to the $3 can or bottle that you can buy in the market.
Is it hard to make kombucha?
No, kombucha is simple but needs a lot of time and strict sanitation measures to avoid contamination. It may look complicated but once you learn how kombucha works, it becomes a no-brainer, unless you encounter some contaminants along the way.
Is tap water OK for kombucha?
Some brewers are successful in using tap water for their kombucha. However, it is better to use filtered water to be on the safer side. The reason behind this is the different water quality per region or city that may affect the safety of the brew.
What kind of sugar do you use to make kombucha?
The sugar that produces the most consistent kombucha flavors is white sugar and organic raw kombucha. Other types of sugar like brown sugar or muscovado may contain some substances that can harm the SCOBY and alter the flavor of the brew.
What kind of water should I use to make kombucha?
The most ideal water to use in kombucha is filtered or distilled water. However, the nutrients in distilled water are stripped during the filtration process.
Can you make kombucha with hard water?
Most kombucha advocates think that hard water contains too many minerals that may affect the performance of SCOBY and the flavor of kombucha.
How do you dechlorinate water for fermentation?
One way to dechlorinate water before fermentation is to boil it for 10 to 20 minutes. The chemical automatically evaporates along with other gasses in the water. Don’t forget to let it cool down at room temperature before you use it for fermentation.
How do I make my kombucha fizzy?
As kombucha continues to ferment at room temperature, it will eventually become fizzy. You may also add some sweetener to help the yeast and bacteria continue the carbonation process.